logo
  • About
    • About Suzanne
    • FAQs
  • Photography
    • For Business
    • Day in the Life
  • Photo Books
  • Workshops
  • Blog
  • Work With Me
search-icon2

Suzanne O'Brien Studio

organize and enjoy your memories

February 17, 2012

Memory Sharing vs. Memory Keeping

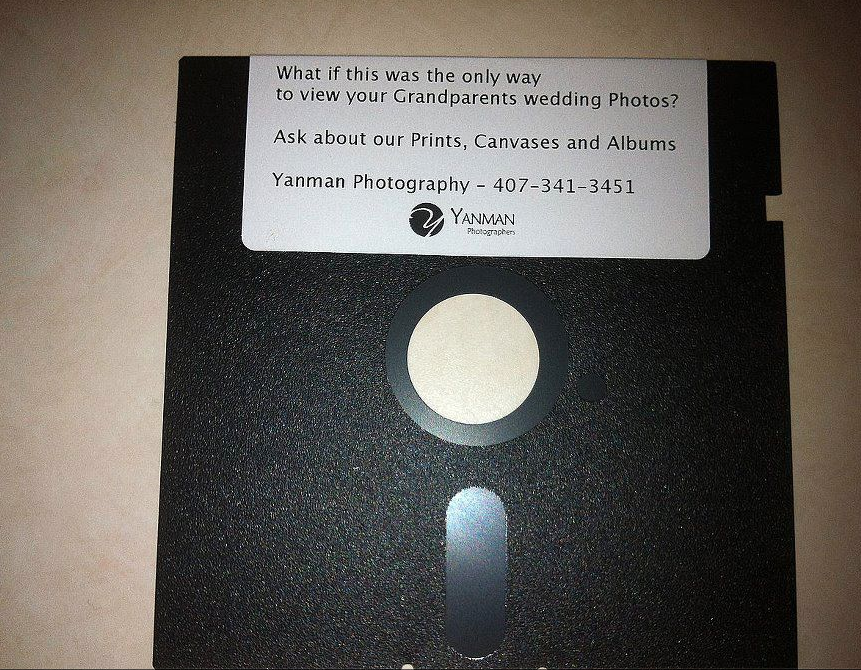
This image was making its way around Facebook earlier this week and I couldn’t agree with the message more…

The power of technology to record and store our memories has never been stronger.  Similarly, social media allows us to quickly and easily share our images and experiences with the click of a button.  But memory storing and sharing is not the same as memory keeping*.  So this is just a friendly reminder to print up some prints or make a photo book today.  Our grand-kids will thank us.

* There was a great discussion about the rise of the term “memory keeping” (my long-standing preferred term) over on the Paperclipping Roundtable podcast last month.  Take a listen if you are interested!

share:


FILED UNDER: Memory Keeping

February 16, 2012

Project Life | Tips & Tricks

I have been amazed, but certainly not surprised, by the recent growth of the Project Life community.  It is truly a wonderful way to document your life.  However, there is so much content and inspiration out there it makes me a tiny bit glad I got into this when there weren’t so many blogs, Pinterest etc. to distract me from the task at hand!

As I come across many great resources for implementing Project Life I find myself thinking about some of the simple little things I did when putting together my album this past year.  Things that made the process faster and easier for me.  Things that fit with my conscious decision to keep this project simple – focus on the photos and stories so I would actually get it done.  I thought I would share a few of them here:

Have fun with pens
I have found that adding a few touches with my colored pens is a super easy way to add a little something extra to my journaling cards.  Adding color to bulleted lists or framing the card with pen and then color are two of my favorite things to do.    I especially like to do this when I have a lot to say and use a blank (non-decorative) journaling card. It just seems give a little finishing touch to the card.

I also enjoy writing directly on my photos with my favorite Sharpie pen for super quick journaling.  I figure if I mess up and don’t like it I can always cover it up with a journaling card or, worst case scenario, order another print.  I don’t think I’ve ever had to do this, but it is nice to know you have options.


Use printer paper as foundation layer
I will frequently create a collaged 4×6 layout that includes photos, journaling and ephemera. Rather than waste a perfectly good sheet of cardstock as a base layer, I have taken to cutting down to 4×6 any printer paper scraps I generate when printing out my journaling.  This way you can easily build your collage to the right size, but you don’t use paper that you are not going to see much of in the end product.  If I do have a 4×6 layout with a more visible background, I use these American Crafts 4×6 cards.

Create custom-sized page protectors
Utilizing different sized sheet protectors within your 12×12 album seems to have grown in popularity this past year.  I’ve found my favorite (and happily inexpensive) way to include odd-shaped extra items is to create my own custom sheet protectors.  I simply take an 8.5×11 page protector (think Office Depot) and trim off the less than attractive white strip with the binder holes.  Sometimes you need to use your fingernail to remove the remaining thin strip of white.  Then use your 12×12 page protector as a template to trace where the new holes need to be (can be 1, 2 or 3 holes depending on the size of item you want to include).  Go ahead and use a pen so you can see the holes, your standard size hold punch will be larger than what you draw.  With a few quick hole punches you are done.

I initially thought I might be bothered by the different weight of the page protectors vs. traditional page protectors.  Or by having unmatched page protectors.  Nope, I love it all.  I’m also not one to worry too much about archival quality but I guess that might be a consideration for some.

I even created a few custom 3×4 flip pockets by cutting down my 4×6 flip pockets…

Once you put your item inside you can trim down the remaining sheet to a size that is a perfect fit.  How to close off the now open sheet protector you ask?  A simple staple or paper clip work great.  Sewing is another option.  Two of my favorite (and easy) methods are to cover the edges with washi tape or paint.  The paint can hide adhesive that you add to make sure the item stays inside the protector.  I also often hole punch the item directly into the binder, thus ensuring it won’t be going anywhere.

more paint and custom insert..

The back side of these custom inserts is a great place to stick extra ephemera such as grocery receipts…

Embrace said custom page protectors…in moderation
I had a great time adding all of the extra bits and pieces that didn’t fit in the 2 page spread in 6×12 page protectors as well as the 4×6 flip pockets.  As mentioned above, I also made a lot of my own custom-sized protectors.  Just a word of caution that your album can start to look like this when you add all of that additional bulk in the “middle” of your album.  My happiness with all of the extra “stuff” far outweighs the bump factor.

Make a 3×4 template
By now you have probably figured out that the small journaling cards are not exactly 3×4.  Since I cut a lot of photos and other paper to fit in those small pockets I found it very useful to create a template that exactly matched the kit journaling cards.  I cut my template out of the thick cardboard that often comes at back of paper pack.  I kept the edges of the template sqaure as this was easier for me to line up with a photo/paper in my trimmer.

Title Cards = Found Space
If you are someone (like me!) who often has more stuff to fit on your weekly layout than you have room for, don’t overlook your title card!  That little space up in the corner is a great spot to tuck odds and ends that might otherwise be homeless.

Reminder: traditional layouts fit too

This isn’t really a tip or trick, just a friendly reminder that you can always include a few more “traditional” layouts in the middle of your Project Life album.

Oh Life for journaling
This is not a new website but I sure do love it.  I’ve set it up so that every day Oh Life sends me an email prompting me to write about my day.  When time comes to assemble my pages I just export and print out my responses and I’m ready to go.  This system works great if you are a my-email-inbox-is-my-to-do-list person like me.

Whew, that was longer than I expected it to be.  Hope this helps you get some new ideas for Project Life 2012!

share:


FILED UNDER: Memory Keeping

  • « Previous Page
  • 1
  • …
  • 169
  • 170
  • 171
  • 172
  • 173
  • …
  • 175
  • Next Page »

The Blog

I am a photographer, designer and modern memory keeper.

popular posts

Personalized Travel Catalog

If You Love Coffee…

Dear New York,

search past posts

categories

1.  Business Photography

2.  Photo Books

3.  Day in the Life

4.  Memory Keeping

5.  Workshops

6.  Lifestyle Photography

7.  Personal

stay in Touch

Subscribe to receive
updates and inspiration!

Thanks! Keep an eye on your inbox for updates.

follow

workshops

Learn at your own pace –
check out the classes & workshops

BROWSE
POPUP-LINE

oh, hello there!

THANK YOU SO MUCH FOR VISITING

subscribe to the newsletter to receive updates and inspiration

Thanks! Keep an eye on your inbox for updates.

© 2025 SUZANNE O’BRIEN STUDIO. ALL RIGHTS RESERVED.

Copyright © 2025 · Suzanne OBrien Studio Child Theme On Genesis Framework · WordPress · Log in